Hey there,
In this guide, I’ll show you how to create your own magical fairy garden! If you’ve ever dreamed of making a tiny world where cute fairies play in a tiny garden, then you’re in the right place. In this step-by-step tutorial, you’ll find out how to turn a simple teacup or plant pot into a charming fairy garden that will make your heart happy. From selecting the perfect container to choosing the right plants and accessories, I will cover everything you need to know to create a beautiful and unique fairy garden that will delight both children and adults alike.
It doesn’t matter if you’re new to gardening or if you’re a pro – making a fairy garden is a fun and easy way to be creative and add some magic to your home or garden. So, gather your supplies, let your imagination flow, and let’s make some magic happen!
This site contains affiliate links. I may earn a small commission, at no extra cost to you. I’d appreciate it if you can support me.
Preparations – before you do anything
When it comes to creating a fairy garden, planning is key. Taking your time to plan out your garden will help ensure that it turns out just the way you want it to. Here are some key factors to consider when planning your fairy garden.
Choose a Theme
Before you begin gathering materials, it’s important to decide on a theme for your fairy garden. Think about what kind of atmosphere you want to create and choose a theme that reflects that.
Select the Location
Once you’ve settled on a theme, it’s time to choose a location for your fairy garden. Look for a spot in your yard that gets plenty of sunlight and is easily accessible. You may also want to consider creating a miniature landscape with hills, valleys, and other features to add depth and interest to your fairy garden.
Now that you have a theme and location in mind, it’s time to start gathering materials for your fairy garden. So let’s start step-by-step.
Step 1: Gather all necessary supplies and materials
- Teacup or small plant pot: Choose a pot that fits the size and aesthetic you desire for your fairy garden. It could be a teacup, a small bowl, a shallow pot, or any other container with drainage holes.
- Miniature house or structure: Look for tiny houses, cottages, or other structures designed for fairy gardens. You can often find these at craft stores, garden centers, or online.
- Mini fairies: Select miniature figurines or statues to add a touch of magic to your garden. Consider different poses and styles to create a diverse and lively scene.
- Mini plants: Choose small plants that will thrive in the confined space of your mini garden. Moss, succulents, miniature ferns, and small flowering plants are popular choices. Make sure they have similar light and water requirements.
- Mini accessories: Add cute decorations to make your fairy garden even nicer, such as tiny ceramic mushrooms, miniature garden tools, decorative stones, pebbles, shells, or even small pieces of driftwood.
- Light source: Use soft lights to brighten your fairy garden at night. LED string lights, miniature lanterns, or small battery-powered lamps can add a magical glow to your creation.
Step 2: Choose a theme and plan the garden
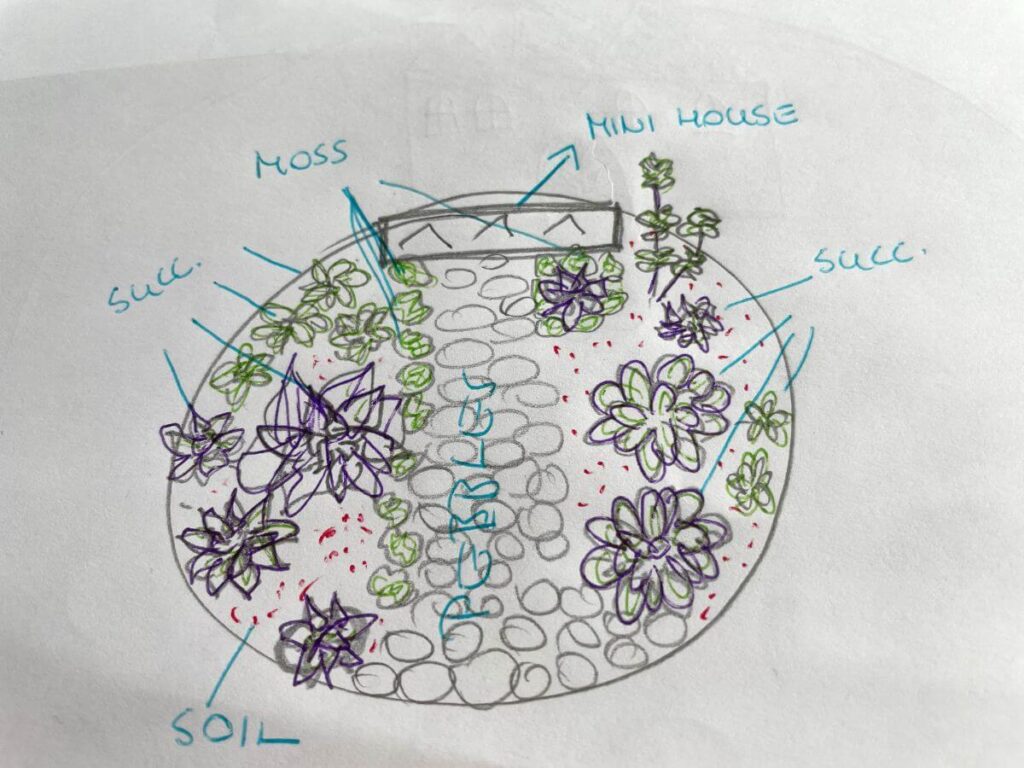
Consider the overall theme or story you want your fairy garden to convey. Can you imagine a magical forest hideaway, a charming garden, or a mystical fairy kingdom? Sketch out a rough layout of your fairy garden, indicating where you’ll place the house, fairies, plants, and accessories. Think about creating focal points and visual interest throughout the space.
Step 3: Prepare the teacup/plant pot and soil
- Fill the bottom of the pot with a layer of small stones or pebbles to aid in drainage.
- Add a layer of potting soil or a specialized blend for succulents and cacti, leaving enough space at the top for planting and arranging your miniature landscape.
- Gently pat down the soil to create a level surface and ensure stability for your plants and decorations.
Step 4: Place the house and fairies
- Position the miniature house or structure in the desired location within the container, such as nestled against the edge or centered in the garden.
- Arrange the mini fairies around the house, creating scenes of enchantment and whimsy. You can place them on pathways, perched on rocks, or peeking out from behind foliage.
Step 5: Plant the plants and decorate the garden
- Plant your selected small plants into the soil carefully, taking care not to overcrowd them. Arrange them in clusters or along the edges to create depth and interest.
- Add miniature accessories strategically throughout the garden to enhance the theme and create visual focal points. Use contrasting colors, textures, and heights to add dimension.
- Try out different ways of arranging things until you find a balanced and nice-looking design that matches the magical feel you want.
Step 6: Add lighting
- Use lighting elements to add a magical glow to your fairy garden, especially in the evenings or in dimly lit spaces.
- Hide LED string lights or battery-powered lanterns in between the plants and decorations, making sure they’re safely placed and won’t block your garden’s view.
- Try out the lighting to make sure it looks right and doesn’t make your fairy garden too bright.
Step 7: Refine and adjust the details
- Take a final walkthrough of your fairy garden, paying attention to the placement of plants, decorations, and lighting elements.
- Make any necessary adjustments to achieve symmetry, balance, and visual appeal. Tweak the arrangement of plants and accessories as needed to create cohesive scenes and storytelling moments.
- Water your mini garden gently, using a small watering can or spray bottle to avoid disturbing the delicate plants and decorations. Monitor the soil moisture regularly and adjust your watering schedule accordingly to keep your fairy garden thriving.
And you’re done!
Now you can enjoy the magic of your own homemade mini fairy garden. Don’t forget to occasionally add new plants or rearrange the accessories to keep it fresh and exciting!
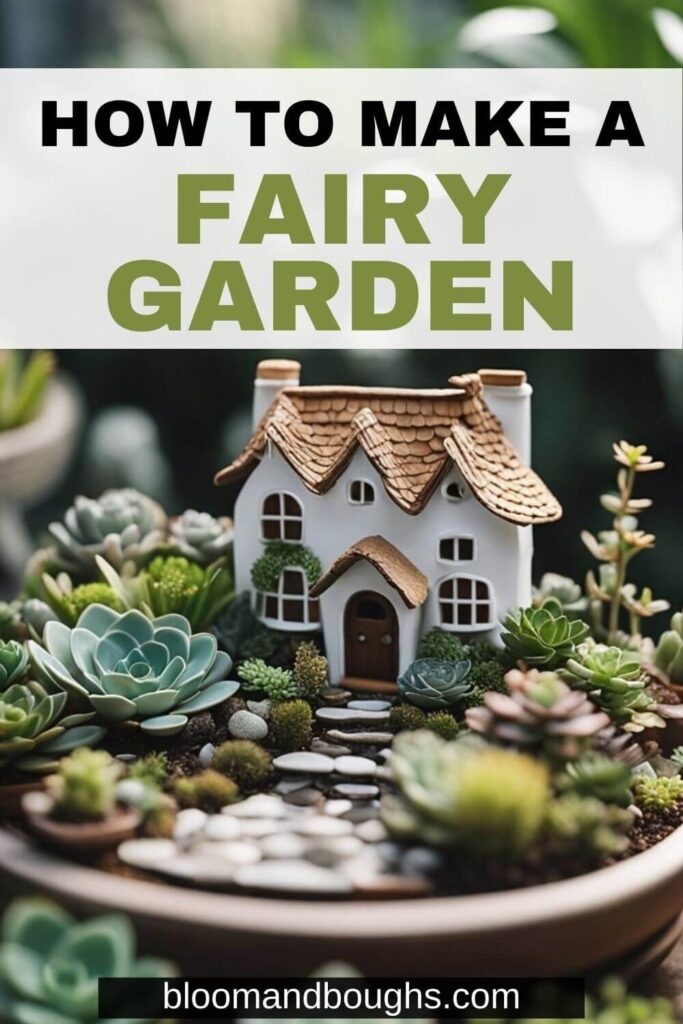
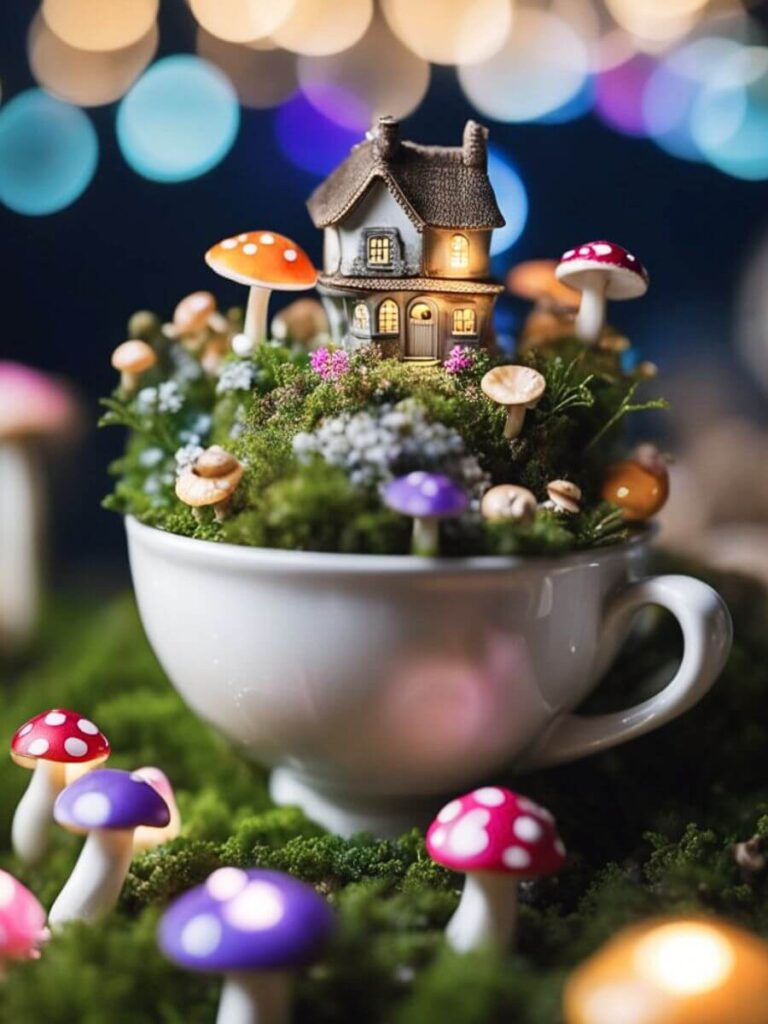
The succulent mini garden presented above is my new favorite, but previously, I also transformed a teacup into a mini fairy garden, and I enjoyed its sight for a long time. If you need some inspiration, here it is:
Conclusion
Now that you’ve learned how to create your own fairy garden, it’s time to let your creativity shine and bring your miniature world to life! Whether you’re making it as a gift or for yourself, a fairy garden is sure to bring joy to anyone who sees it. So, get your teacup, or plant pot, gather your supplies, and let’s get started. And don’t forget to share your creations with me – I’d love to see the magical worlds you’ve created! Happy gardening!


0 Comments