Hey there,
Every home has some items that have become unnecessary. Would you like to use repurposed planters? Are you interested in what you can make from an empty plastic bottle, or do you feel like pouring concrete molds? I have good news for you: a planter can be made from anything! The following 10 simple DIY ideas, that can be made together with kids, are just waiting for you.
I have to tell you, that the post is quite long as it contains detailed step-by-step instructions. If you’re interested in making a specific planter, I suggest using the table of contents. If you have more time and want to get inspired, scroll through all the ideas!
Have fun!

10 DIY Planters Using Repurposed Items
1. CD Case Succulent Garden:

Source: Pinterest
Materials Needed:
- Empty CD cases
- Small rocks
- Succulent plants
- Potting soil
- Glue
Steps:
Prepare CD Cases:
- Open the CD cases and carefully remove any paper inserts or labels.
- Ensure the CD cases are clean and dry before proceeding.
- Glue the two empty CD holders together to form a square.
- If you want, and there is still an empty CD holder available, you can make a thicker rim out of it, so you can use more soil. The plants will thank you!
Create Drainage Layer:
- Fill the bottom of the CD case with a layer of small rocks. This layer will help with drainage to prevent water from pooling at the bottom.
- Make sure the layer of rocks is even across the CD case.
Add Potting Soil:
- On top of the layer of rocks, add potting soil. Leave some space at the top to accommodate the succulent plants.
- Gently pat down the soil to create a firm base for planting.
Plant Succulents:
- Select small succulent plants that will fit well within the CD cases.
- Carefully remove the succulents from their pots and shake off excess soil from the roots.
- Dig small holes in the potting soil of the CD case and place the succulents inside, arranging them as desired.
- Ensure the roots are covered with soil and gently press the soil around each plant’s base to secure them in place.
Watering and Placement:
- Water the succulents lightly, being careful not to overwater. Succulents prefer dry conditions, so allow the soil to dry out between watering sessions.
- Place the CD case in a sunny spot where the succulents can receive adequate sunlight. A sunny windowsill or balcony works well.
- Monitor the succulents regularly and adjust watering as needed based on the moisture level of the soil.
2. Concrete Tube Planters:
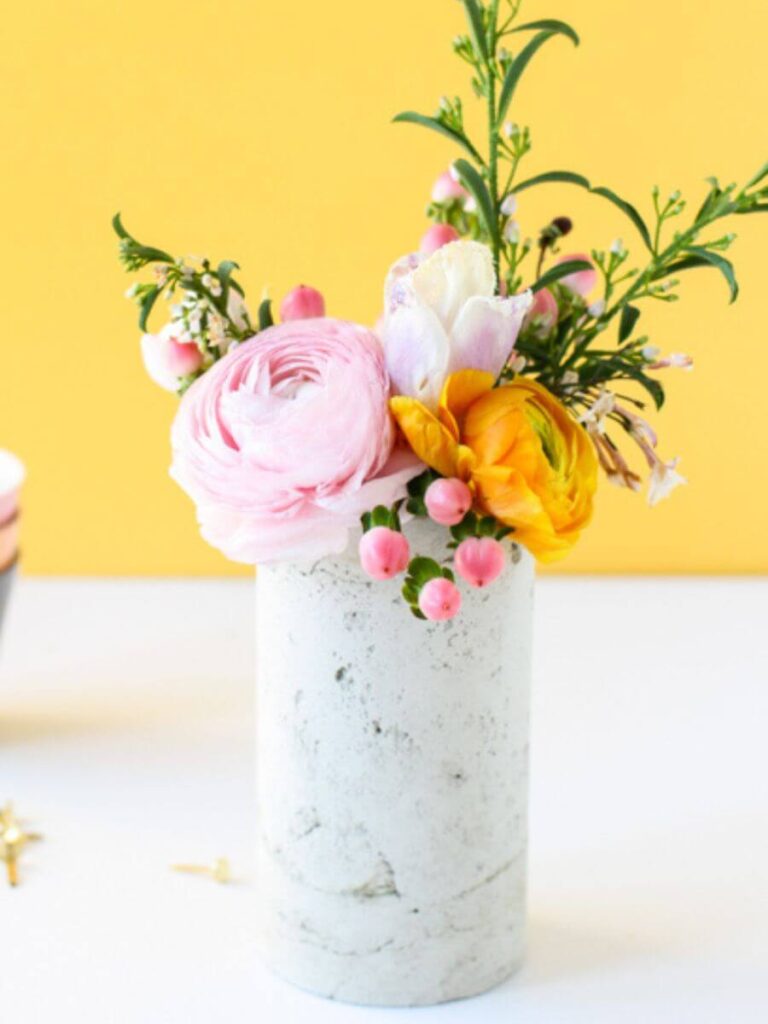
Source: Pinterest
Materials Needed:
- Cardboard tubes (e.g., from paper towel rolls)
- Concrete mix
- Plastic cups
- Plants
Steps:
Prepare Cardboard Tubes:
- Cut the cardboard tubes into desired lengths using scissors or a utility knife. Ensure the tubes are clean and free from any debris.
Create Molds:
- Place a plastic cup inside each cardboard tube to serve as a mold for the concrete.
- The plastic cups should fit snugly inside the tubes and be tall enough to leave sufficient space for planting.
Mix and Pour Concrete:
- Prepare the concrete mix according to the package instructions in a mixing container.
- Carefully pour the concrete into the cardboard tubes, filling around the plastic cups.
- Use a stick or spoon to gently tap the sides of the tubes to remove any air bubbles and ensure the concrete settles evenly.
Insert Planting Spaces:
- While the concrete is still wet, press small pots or containers into the concrete to create spaces for planting.
- Ensure the pots are firmly embedded in the concrete but not completely submerged.
Allow Drying Time:
- Let the concrete dry for 24-48 hours or as directed on the concrete mix packaging.
- Avoid moving or disturbing the tubes during this time to prevent cracking or misshaping of the planters.
Planting:
- Once the concrete has fully cured, carefully remove the cardboard tubes and plastic cups from the planters.
- Fill the cavities with potting soil and plant your chosen plants, ensuring they have enough space to grow and thrive.
Watering and Maintenance:
- Water the plants gently after planting and continue to water as needed based on the specific requirements of the plant species.
- Place the concrete tube planters in a suitable location with adequate sunlight for optimal plant growth.
3. Wooden Crate Planters:

Source: Pinterest
Materials Needed:
- Wooden crates
- Paint or stain
- Plastic liner
- Soil
- Plants
Steps:
Prepare Wooden Crates:
- Ensure the wooden crates are clean and free from any debris or splinters.
- If desired, paint or stain the crates in your preferred color or finish and allow them to dry completely.
Line Crates with Plastic:
- Cut a piece of plastic liner to fit the inside of each crate, leaving some excess around the edges to prevent water leakage.
- Place the plastic liner inside the crate, pressing it firmly against the bottom and sides.
Fill with Soil:
- Fill each crate with potting soil, ensuring it is evenly distributed and reaches the top of the crate.
- Press the soil gently to create a firm base for planting.
Planting:
- Choose your desired plants and arrange them in the crates, considering factors such as height, color, and growth habit.
- Dig holes in the soil and carefully place each plant, ensuring the roots are covered and the plants are secure.
Watering and Maintenance:
- Water the plants thoroughly after planting, ensuring the soil is evenly moist but not waterlogged.
- Monitor the moisture levels regularly and water as needed based on the specific requirements of the plants.
- Place the wooden crate planters in a suitable location with adequate sunlight for optimal plant growth.
4. Hanging Book Planter:

Source: Pinterest
Materials Needed:
- Hardcover book
- Plastic liner
- Potting soil
- Small plants
- Twine or rope
Steps:
Prepare Book:
- Choose a hardcover book with thick pages that can support the weight of soil and plants.
- Open the book and remove any loose or damaged pages.
Line with Plastic:
- Cut a piece of plastic liner to fit the inside of the book, leaving some excess around the edges.
- Place the plastic liner inside the book, pressing it firmly against the pages and spine.
Fill with Soil:
- Fill the lined book with potting soil, leaving some space at the top to accommodate the plants.
- Gently pat down the soil to create a firm base for planting.
Planting:
- Select small plants that will fit well within the book and complement its size and style.
- Carefully remove the plants from their pots and shake off excess soil from the roots.
- Dig small holes in the soil of the book and place the plants inside, arranging them creatively.
Hang the Planter:
- Cut lengths of twine or rope and tie them to each corner of the book cover to create hanging loops.
- Ensure the knots are secure and the lengths of twine or rope are even.
- Hang the book planter in a suitable location using hooks or nails, ensuring it is secure and stable.
Watering and Maintenance:
- Water the plants gently after planting, ensuring the soil is evenly moist.
- Monitor the moisture levels regularly and water as needed based on the specific requirements of the plants.
- Place the hanging book planter in a suitable location with adequate sunlight for optimal plant growth.
5. Hanging Basket Planters:
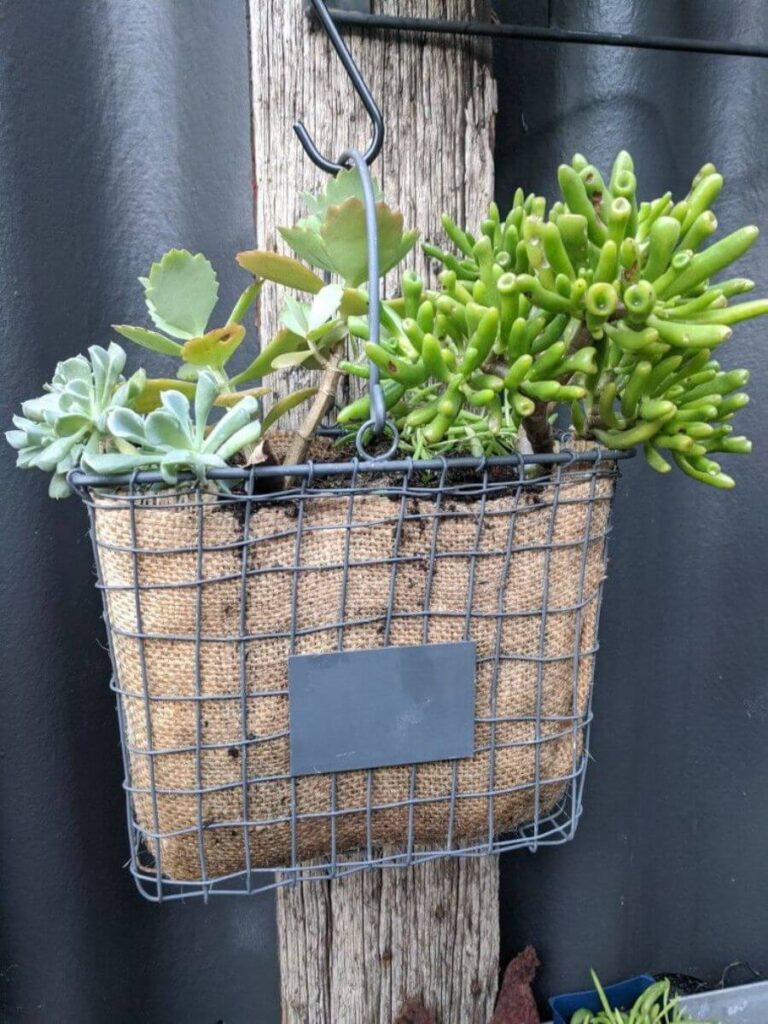
Source: Pinterest
Materials Needed:
- Wire hanging baskets
- Coconut liners
- Soil
- Trailing plants or Succulents
Steps:
Prepare Hanging Baskets:
- Ensure the wire hanging baskets are clean and free from rust or debris.
- If necessary, line the baskets with coconut liners to prevent soil from falling out.
Fill with Soil:
- Fill each hanging basket with potting soil, leaving some space at the top to accommodate the plants.
- Press the soil gently to create a firm base for planting.
Plant Trailing Plants:
- Select trailing plants that will cascade over the edges of the baskets and complement each other in terms of color and texture.
- You can plant Succulents if your basket is smaller.
- Carefully remove the plants from their pots and shake off excess soil from the roots.
- Dig small holes in the soil of the baskets and place the plants inside, spacing them evenly around the edges.
- Ensure the roots are covered with soil and press the soil gently around the base of each plant to secure them in place.
Watering and Maintenance:
- Water the plants thoroughly after planting, ensuring the soil is evenly moist but not waterlogged.
- Hang the baskets in a suitable location where they can receive adequate sunlight for optimal plant growth.
- Monitor the moisture levels regularly and water as needed based on the specific requirements of the plants.
6. Concrete Planters:
Source: Pinterest
Materials Needed:
- Concrete mix
- Molds (e.g., plastic containers)
- Cooking spray
- Plants
Steps:
Prepare Concrete Mix:
- Begin by mixing the concrete according to the package instructions in a mixing container.
- Use a trowel or mixing tool to blend the concrete thoroughly until it reaches a smooth and uniform texture. Ensure there are no lumps or dry patches in the mixture.
Prepare Molds:
- Spray the inside of the molds with cooking spray to create a non-stick surface. This will make it easier to remove the concrete planters from the molds once they’ve cured.
- Ensure that the cooking spray is evenly applied to all interior surfaces of the molds to prevent sticking.
Pour Concrete into Molds:
- Carefully pour the prepared concrete mixture into the molds, filling them to the desired height. Use a trowel or spoon to distribute the concrete evenly and smooth the surface.
- Tap the molds lightly on a flat surface to help release any trapped air bubbles and ensure the concrete settles uniformly.
Create Spaces for Plants:
- While the concrete is still wet, press small pots or containers into the concrete to create spaces for planting. You can use empty plastic containers, cups, or other small objects as molds for creating indentations in the concrete.
- Arrange the pots or containers in the desired pattern or layout within the concrete to accommodate the plants you plan to use.
Allow Drying Time:
- Once the concrete has been poured and shaped, allow it to dry and cure for 24-48 hours in a dry and well-ventilated area. Follow the curing instructions provided on the concrete mix packaging for best results.
- During the curing process, cover the molds with plastic sheeting or a damp cloth to prevent the concrete from drying out too quickly and cracking.
Remove Molds and Start Planting:
- After the concrete has fully cured, carefully remove the molds from the concrete planters. Gently flex or tap the molds to release the concrete without damaging the planters.
- Once the molds are removed, you’ll be left with solid concrete planters with spaces for planting.
- Plant your desired plants directly into the spaces created in the concrete planters. Choose plants that are suitable for the size and depth of the planting spaces and arrange them creatively to achieve your desired aesthetic.
- Ensure the plants are well-watered after planting and place the concrete planters in a suitable location with adequate sunlight for optimal growth.
7. Terrarium in a Glass Vase:
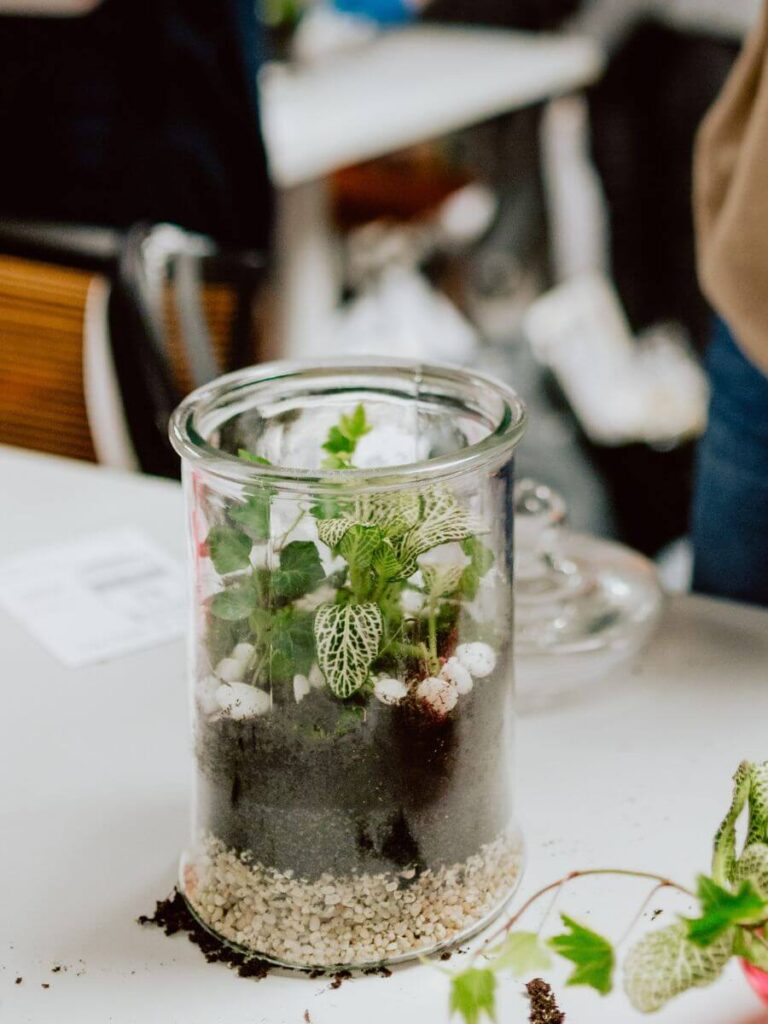
Materials Needed:
- Glass vase or jar
- Small rocks
- Activated charcoal
- Soil
- Small plants
Steps:
Prepare Glass Vase:
- Ensure the glass vase or jar is clean and free from any residue or dirt.
- Choose a vase with a wide opening to allow easy access for planting and maintenance.
Create Drainage Layer:
- Place a layer of small rocks at the bottom of the vase to provide drainage and prevent water from pooling at the bottom.
Add Activated Charcoal:
- Sprinkle a thin layer of activated charcoal on top of the rocks to help absorb excess moisture and prevent odors and mold.
Add Soil:
- Add a layer of potting soil on top of the activated charcoal, leaving some space at the top for planting.
- Gently pat down the soil to create a firm base for planting.
Plant Small Plants:
- Select small plants that will fit well within the glass vase and complement each other in terms of size and growth habit.
- Carefully remove the plants from their pots and shake off excess soil from the roots.
- Arrange the plants creatively within the vase, ensuring they have enough space to grow and thrive.
Watering and Maintenance:
- Water the plants lightly after planting, ensuring the soil is evenly moist but not waterlogged.
- Place the terrarium in a location with indirect sunlight to prevent overheating and sunburn.
- Monitor the moisture levels regularly and water as needed based on the specific requirements of the plants.
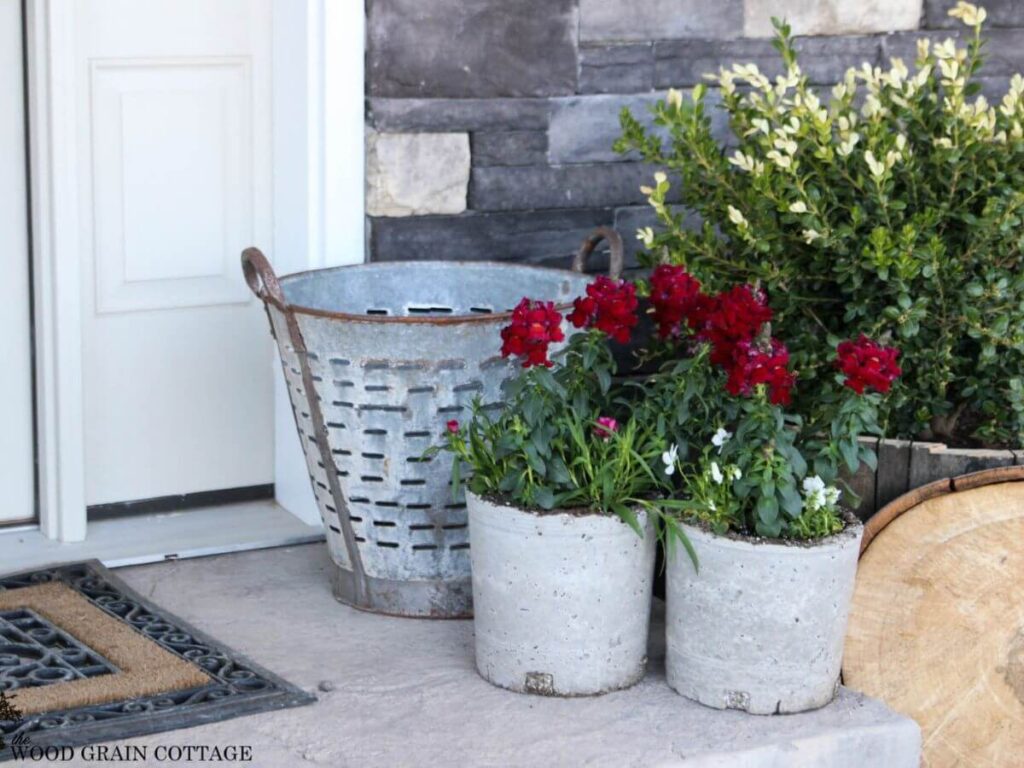
8. Concrete Block Planters:
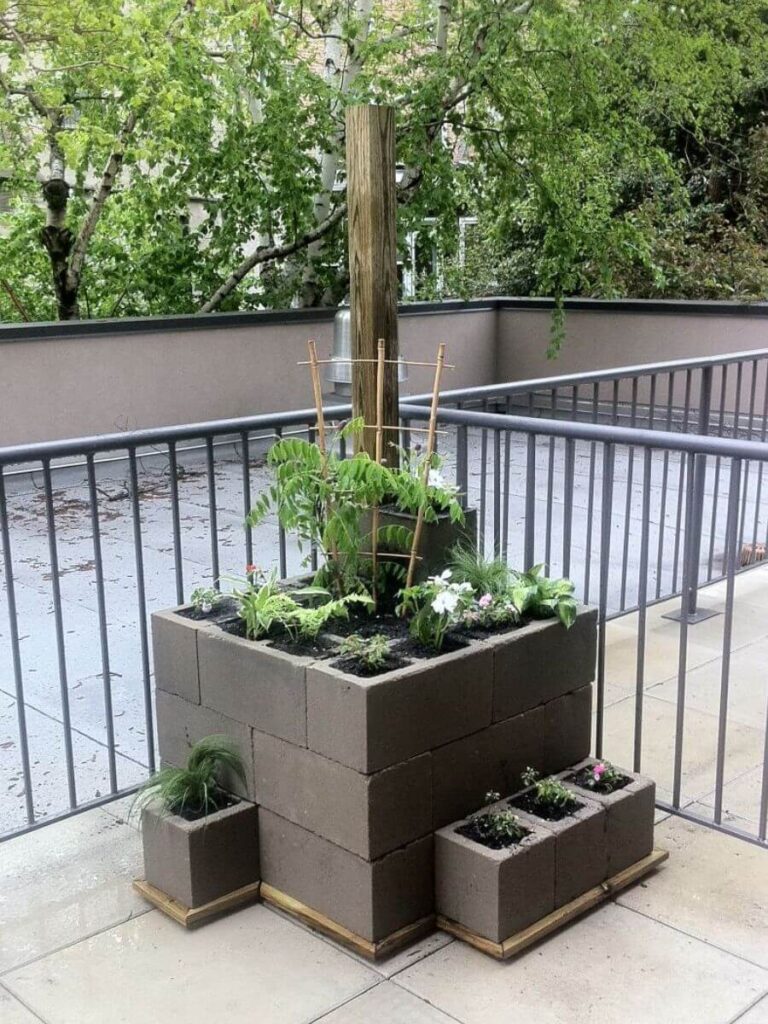
Source: Pinterest
Materials Needed:
- Concrete blocks
- Soil
- Plants
Steps:
Prepare Concrete Blocks:
- Ensure the concrete blocks are clean and free from any debris or dirt.
- Choose blocks with cavities that can accommodate soil and plants.
Fill with Soil:
- Stack the concrete blocks in your desired arrangement to create a planter, leaving openings for planting.
- Fill the cavities of the blocks with potting soil, ensuring it is evenly distributed and reaches the top of the blocks.
Planting:
- Select plants that are suitable for the size and depth of the cavities in the concrete blocks.
- Carefully remove the plants from their pots and shake off excess soil from the roots.
- Plant the chosen plants in the soil-filled cavities, ensuring they have enough space to grow and thrive.
- Press the soil gently around the base of each plant to secure them in place.
Watering and Maintenance:
- Water the plants thoroughly after planting, ensuring the soil is evenly moist but not waterlogged.
- Place the concrete block planter in a suitable location with adequate sunlight for optimal plant growth.
- Monitor the moisture levels regularly and water as needed based on the specific requirements of the plants.
9. Recycled Tire Planters:

Source: Pinterest
Materials Needed:
- Old tires
- Spray paint (optional)
- Soil
- Plants
Steps:
Prepare Tires:
- Clean the tires thoroughly to remove any dirt, debris, or residue.
- If desired, paint the tires with spray paint in your preferred color or design and allow them to dry completely.
Fill with Soil:
- Lay the tires flat on the ground or in a suitable location for planting.
- Fill each tire with potting soil, ensuring it is evenly distributed and reaches the top of the tire.
Planting:
- Choose plants that are suitable for the tires and complement each other in terms of color and texture.
- Carefully remove the plants from their pots and shake off excess soil from the roots.
- Plant the chosen plants in the soil-filled tires.
- Press the soil gently around the base of each plant to secure them in place.
Watering and Maintenance:
- Water the plants thoroughly after planting, ensuring the soil is evenly moist but not waterlogged.
- Place the tire planters in a suitable location with adequate sunlight for optimal plant growth.
- Monitor the moisture levels regularly and water as needed based on the specific requirements of the plants.
10. Upcycled Plastic Bottle Planters:

Source: Pinterest
Materials Needed:
- Plastic bottles
- Scissors
- Paint (optional)
- Soil
- Plants
Steps:
Prepare Plastic Bottles:
- Clean the plastic bottles thoroughly and remove any labels or residue.
- Use scissors to cut the plastic bottles in half horizontally to create planting containers.
Optional Painting:
- If desired, paint the outside of the plastic bottles with acrylic paint in your preferred color or design and allow them to dry completely.
Fill with Soil:
- Fill the bottom halves of the plastic bottles with potting soil, ensuring it is evenly distributed.
Planting:
- Choose small plants that will fit well within the plastic bottles and complement each other in terms of color and size.
- Carefully remove the plants from their pots and shake off excess soil from the roots.
- Plant the chosen plants in the soil-filled plastic bottles, ensuring they are securely rooted.
Watering and Maintenance:
- Water the plants gently after planting, ensuring the soil is evenly moist but not waterlogged.
- Hang the plastic bottle planters or place them on a flat surface in a suitable location with adequate sunlight for optimal plant growth.
- Monitor the moisture levels regularly and water as needed based on the specific requirements of the plants.
These simple ideas offer creative ways to repurpose everyday items into unique plant containers. Enjoy crafting your own green space!
If you need more ideas, I’ve already collected repurposed planter ideas in this post: Repurposing Household Items as Planters: A Green DIY Adventure | Bloom and Boughs
The photos have been collected from Pinterest. I am not the owner of these photos, if it’s yours and you can provide me with a link to your work, I am more than happy to properly credit your work. If you wish your photo to be removed, please let me know which one is the one that you own and wish to be removed.
0 Comments